Now Open
Brick Masters Studio
Tickets on Sale Now
Build with LEGO® bricks like a pro in our newest exhibition — included with museum admission.
Get TicketsCharlotte Science Museum
+ IMAX® Dome Theatre
A 501(c)(3) nonprofit
Looking for the best things to do in Charlotte? Discovery Place Science in Uptown Charlotte is a hands-on science museum packed with interactive exhibits, an IMAX Dome theatre, live experiments and animal encounters — a top-rated attraction for families, kids and curious adults across the Charlotte, NC area.
Featured Experiences
View All Featured ExperiencesRanked a Top 10 Science Museum in the U.S. by National Geographic.

Now Open: Brick Masters Studio
Tickets On Sale Now
Included with Admission
Now Open: Brick Masters Studio
Tickets On Sale Now
Included with Admission


- Build with LEGO® bricks like a pro
- See life-sized sculptures built with LEGO® bricks up close
- Hands-on building and engineering for all ages

Fossil Finders
Select Saturdays and Sundays
Add-On Ticket
Fossil Finders
Select Saturdays and Sundays
Add-On Ticket
- Build a 3D dinosaur skeleton piece by piece
- Excavate authentic sea fossils like a real scientist
- Take home your own DIY resin pendant to treasure

Letterpress with LEGO® Bricks
Select Saturdays and Sundays
Add-On Ticket
Letterpress with LEGO® Bricks
Select Saturdays and Sundays
Add-On Ticket
- Design a print with LEGO® tiles
- Ink and pull your own letterpress masterpiece
- STEM challenges for ages 3 and under

NC Moth Week
July 18 – 26, 2026
Free · Community Science
NC Moth Week
July 18 – 26, 2026
Free · Community Science
- Part of National Moth Week
- Document moths anywhere in North Carolina
- Submit observations through iNaturalist

Gabby's Dollhouse MEOWseum Discovery Days
Coming Soon


Science on the Rocks
July 24, 2026
Add-On Ticket · 21+
Science on the Rocks
July 24, 2026
Add-On Ticket · 21+
- 21+ adults-only night at the Museum
- Themed cocktails and bites
- Live experiments, demos and DJ

Sensory-Friendly Hours
First Sunday of Every Month · Next: August 2, 2026
Included with Admission
Sensory-Friendly Hours
First Sunday of Every Month · Next: August 2, 2026
Included with Admission
- Lower lights and reduced sound
- Quiet spaces and sensory supplies
- Open early before general admission
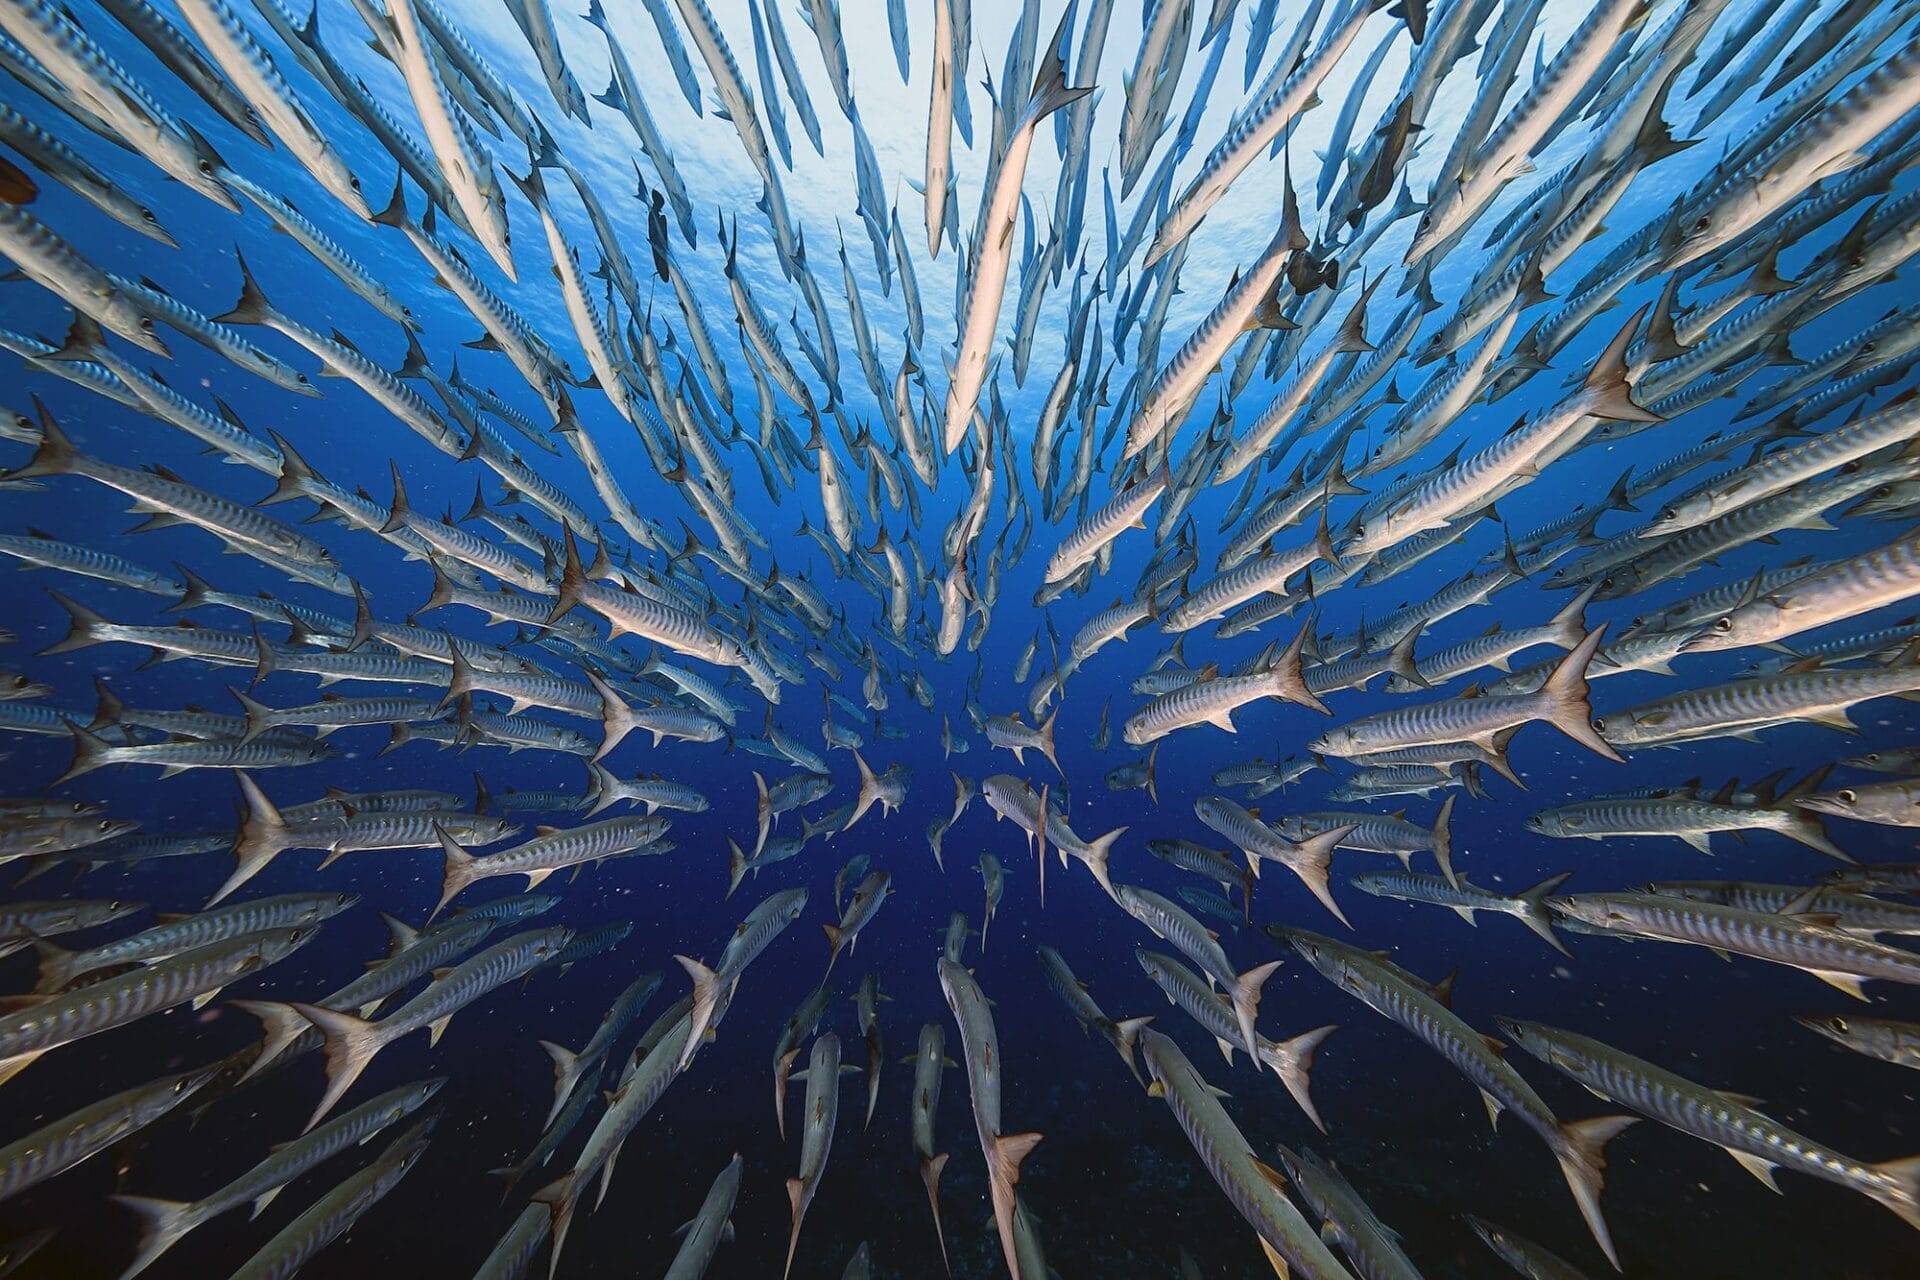
BigPicture: Natural World Photography
Now Open
Included with Admission
BigPicture: Natural World Photography
Now Open
Included with Admission
- Award-winning images from Cal Academy of Sciences
- Celebrates Earth's beauty and biodiversity
- Stunning large-format prints

Weekend Member Hour
Every Saturday & Sunday
Members-Only
Weekend Member Hour
Every Saturday & Sunday
Members-Only
- Exclusive early access for members
- Themed activities each month
- Meet educators and fellow members
Charlotte IMAX Dome Theatre
The largest screen in the Carolinas.

Featured IMAX Film


All IMAX Films
Tap a poster to preview its showtimes below.
Showtimes Calendar
Live Shows and Daily Experiences
Experience science come alive in venues throughout the Museum.
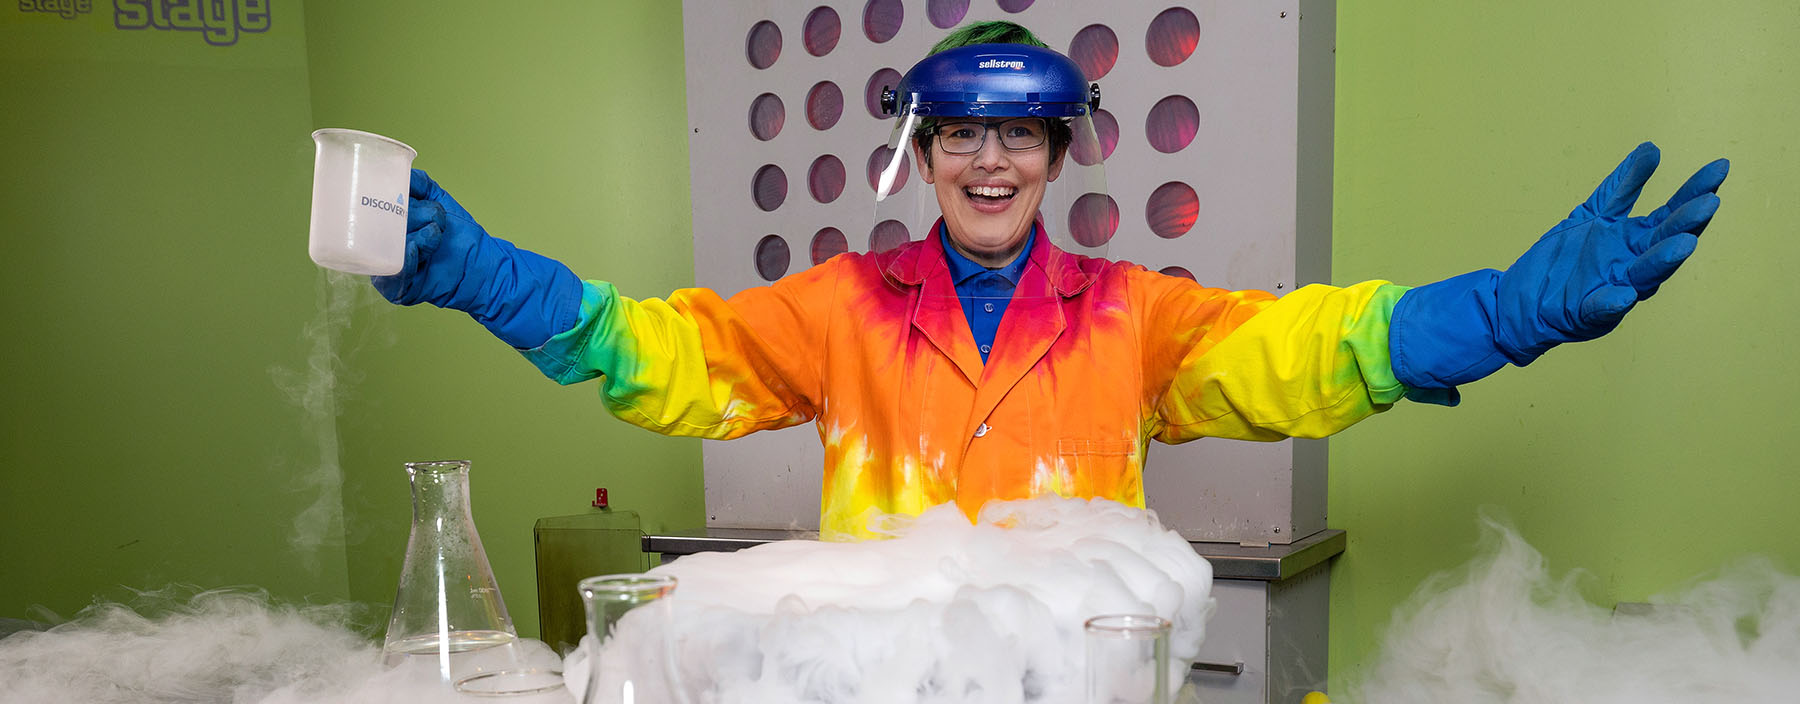
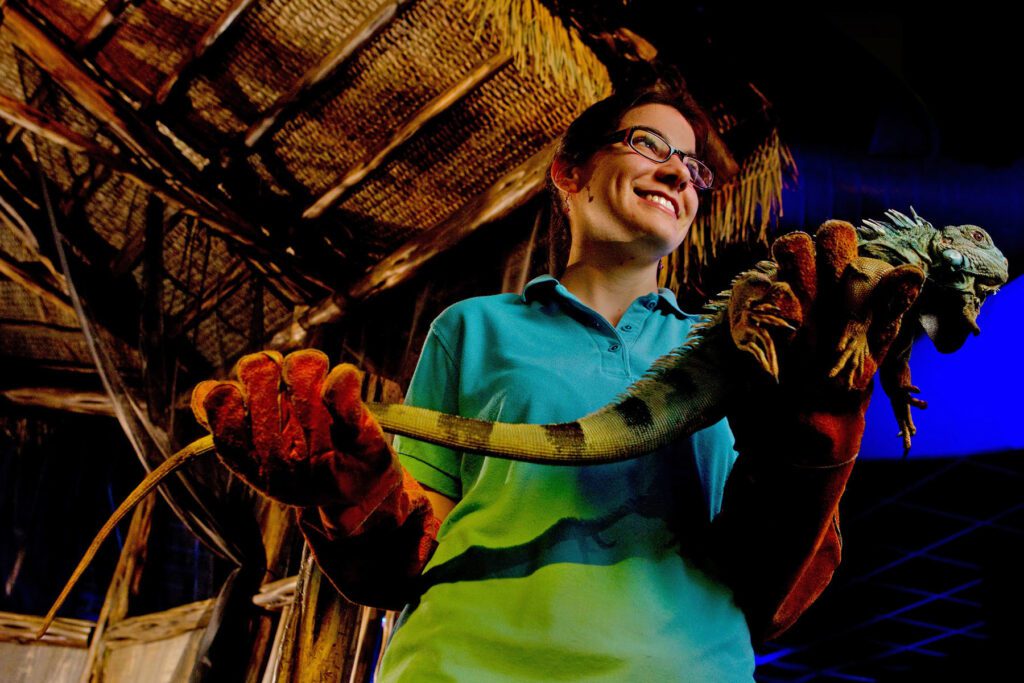
Science at the Stage
Daily Showtimes
Cool Stuff
Science at the Stage
Daily Showtimes
Cool Stuff
- A smorgasbord of live experiments and demonstrations
- Scientists showing off fascinating live animals
- Jaw-dropping chemical reactions you have to see

Cool Stuff
Daily Demonstrations
Level 2
Cool Stuff
Daily Demonstrations
Level 2
- Hands-on physics demos you can try yourself
- Bed of nails, vortex cannon and more
- Included with admission

KidScience
Open Daily
Ages 0–7
KidScience
Open Daily
Ages 0–7
- Interactive play zones designed for little learners
- Nature, water and building discovery areas
- Included with admission

World Alive
Open Daily
Level 3
World Alive
Open Daily
Level 3
- Meet living animals from diverse habitats
- Aquariums, reptiles and amphibians on view
- Included with admission

Thinker Space
Open Daily
Level 1
Thinker Space
Open Daily
Level 1
- Hands-on maker studio with real tools
- Design, build and tinker with everyday materials
- Included with admission
Nose-to-Nose
Daily Showtimes
Mackay Field Station
Nose-to-Nose
Daily Showtimes
Mackay Field Station
- Up-close encounters with animal residents
- Learn about habitats and stewardship
- Included with admission
Rental Spaces
Host your next event at Charlotte's most extraordinary venue.
Full Museum Rental
Up to 1,800 Guests
All Three Levels
Full Museum Rental
Up to 1,800 Guests
All Three Levels
- Standard AV equipment included
- Seated tables, high-tops and chairs provided
- Dedicated Event Coordinator for planning
- Full bar packages with ABC permits on-site

Tryon Suite
Up to 300 Guests
Three Interlocking Spaces
Tryon Suite
Up to 300 Guests
Three Interlocking Spaces
- Tryon Lounge, Tryon Gallery and Windows on Tryon
- Abundance of natural light with Tryon Street views
- Rotating art exhibits throughout the year
- Use as one large space or break into separate spaces
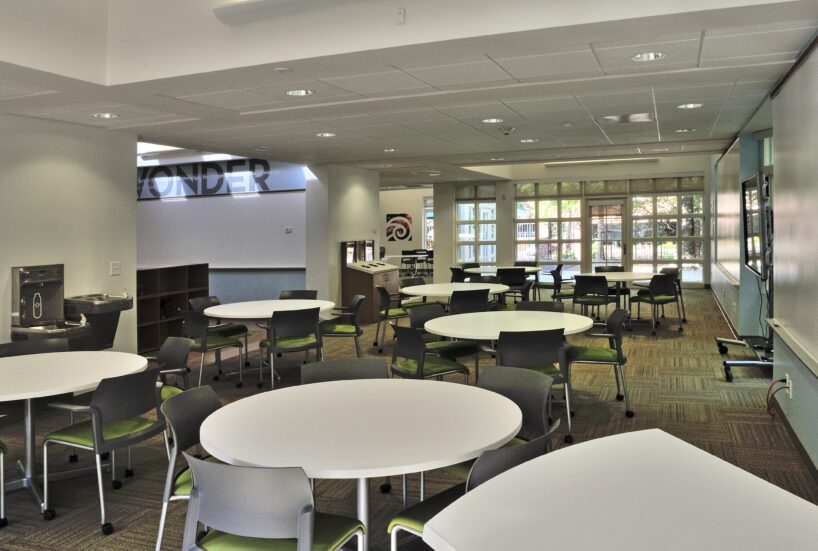
Discovery Place Education Studio
Up to 75 Guests
Smart Boards & Break-Out Rooms
Discovery Place Education Studio
Up to 75 Guests
Smart Boards & Break-Out Rooms
- State-of-the-art meeting spaces with smart boards
- Main Spark room seats 30 at round tables
- Two adjoining break-out spaces (18 seated each)

Support a 501(c)(3) nonprofit
Become a Member
- Get unlimited admission
- Get access to 350+ museums worldwide
- Enjoy special access, events and discounts
- Support a vital community resource

T.REX

Call of the Dolphins

Apollo 11
